
Here at Crowded Earth Kitchen, the kiddos are home all week for their holiday break. This vintage post offers up a fun and easy activity to keep your little ones safe from boredom until they return to school!
Making homemade ice cream is a lovely pastime. Just pull out that antique wooden, hand cranked ice cream maker and… Oh Wait… you don’t happen to have one of those? Well, never fear! A pair of zip lock plastic bags will work just fine.
Plastic bags?
Yes.
Don’t believe me? Give it a try! Just make sure to post a comment about your fabulous ice cream, OK? 🙂
 Ingredients and Supplies (Makes 2 servings)
2/3 cup whole milk
2/3 cup heavy whipping cream
1 teaspoon flavor extract (vanilla, peppermint, etc.)
 4 cups ice
1 cup coarse salt
2 “zip lock” sandwich bags
2 “zip lock” gallon size freezer bags
Directions
 Step 1) Add 1/3 cup milk, 1/3 cup cream, and 1/2 teaspoon flavor extract to each sandwich bag. Gently squeeze out the air and carefully seal each bag.
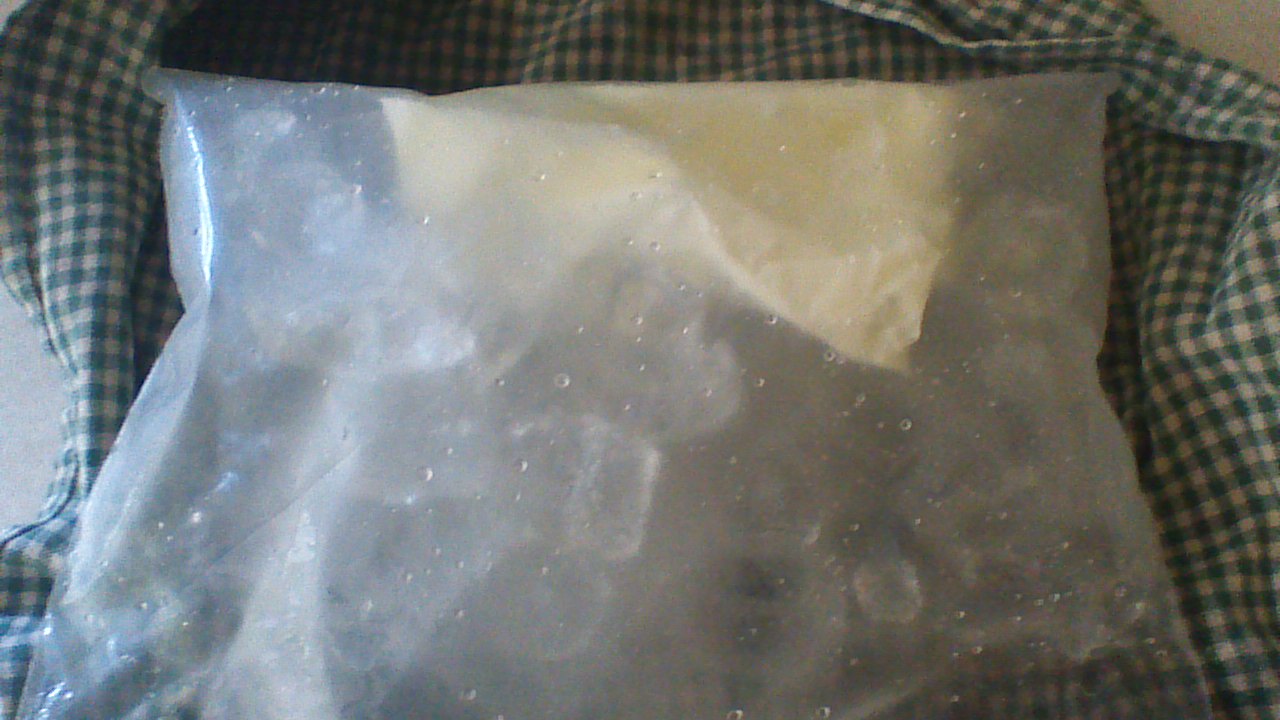
Step 2) Add 2 cups ice and 1/2 cup coarse salt to each gallon size bag. Add a sandwich bag from step 1 to each gallon size bag. Carefully seal the gallon size bag.
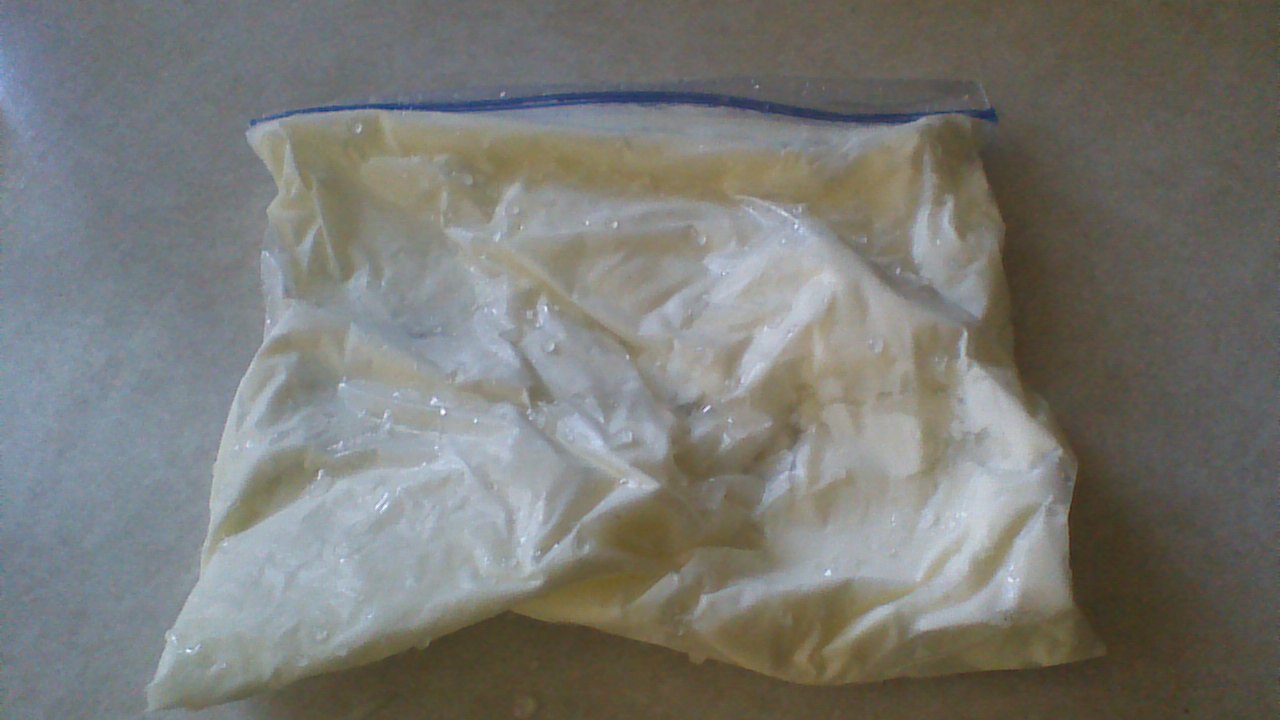 Step 3) Place the gallon bag on a small towel. Fold the towel over the bag to protect your hands from the cold (ice+salt gets REALLY cold), and gently rock the towel back and forth on a flat surface for 5 minutes. Flip the bag over and gently rock for another few minutes, or until the contents of the sandwich bag are completely frozen.
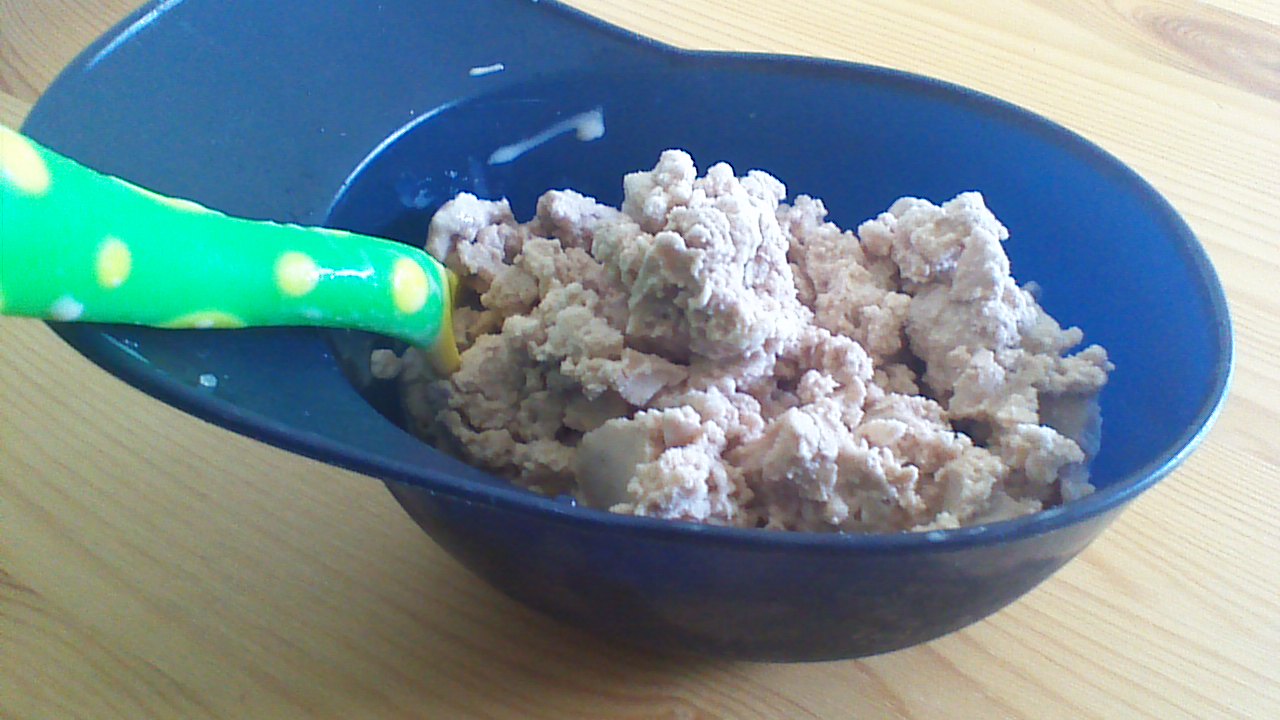
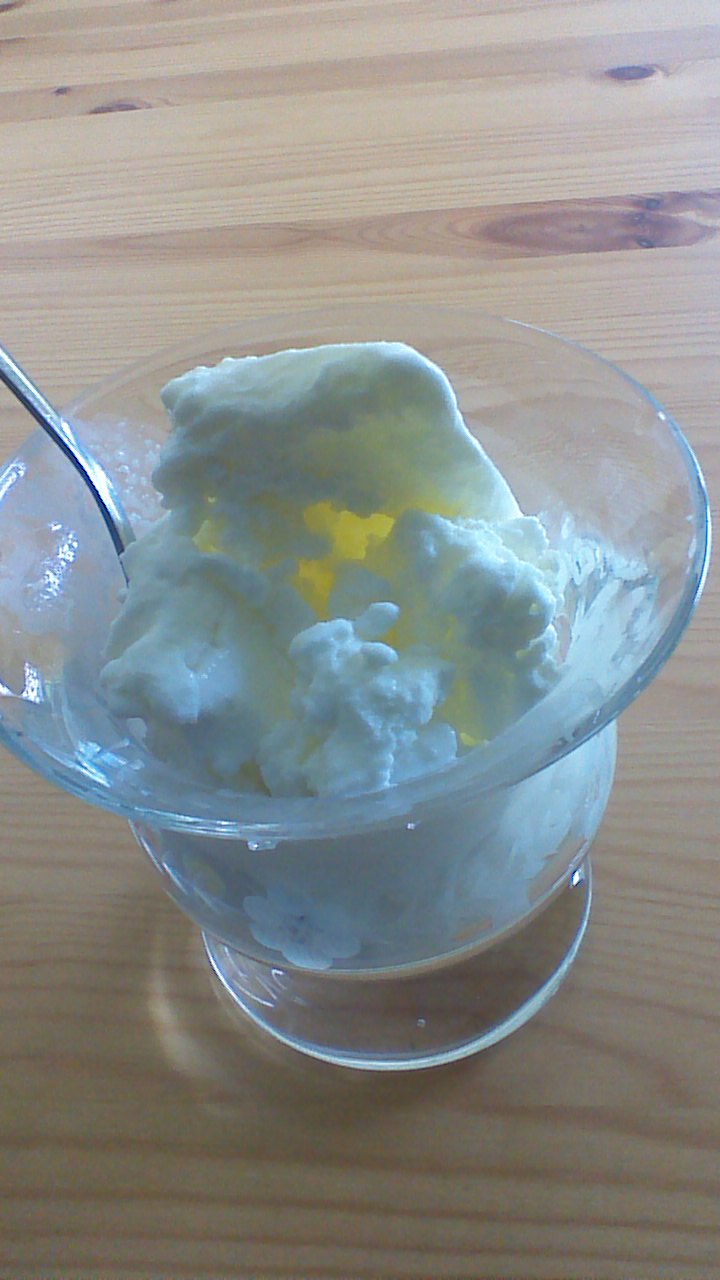
Step 4) Remove sandwich bag from gallon size bag and carefully wipe away any salt from zip lock opening. Carefully open bag and transfer ice cream to a serving bowl. Enjoy immediately!

Reblogged this on chefelliott and commented:
Here’s a GREAT summer camp recipe that I like…
Yes! I’ve done this with my students in the past! Great fun! I get the kids to sing and dance as they shake their ice cream.
How fun! 🙂
We’ll have to try this. Seems a bit healthier than the one I make with cream and condensed milk.