
Canning 101
There are three canning myths we need to dispel right away.
First, “canning is hard.” That’s silly. If you can boil water, ladle soup into a bowl, and twist on a screw top lid, you have all of the skills required to can successfully. Really.
Second, “canning requires all sorts of weird equipment.” Nope. To get started, you will need a boiling water canning pot ($20), a canning tool kit ($10), and some jars ($10 a case, or ask around for freebies). These items will last darn near forever, and are available at any big box discount retailer, many online retailers, and your local hardware store. In the long run, canning will save you a lot of money. Trust me on this.
Granite Ware 0718-1 Enamel-on-Steel Canning Kit, 9-Piece
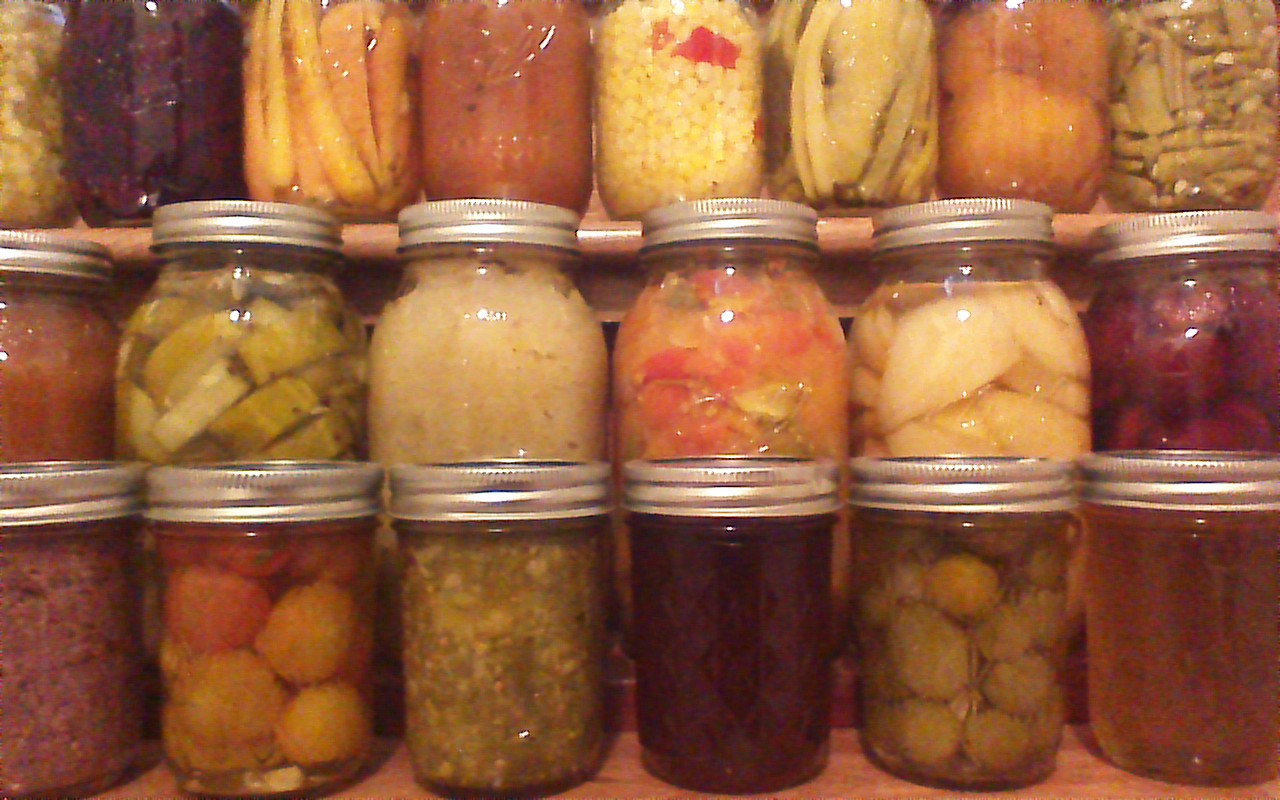
Third, “canning is only for farm folks who have three million tomatoes to put up for the winter.” OK, I’ll admit, I used to believe this. I started canning a few years ago when I had, well, three million tomatoes to put up for the winter. BUT since then, I’ve realized that canning just a few jars here and there is an economical way to take advantage of great produce sales, keep family favorites on hand all year, and make fun gifts for friends.
Now that we’ve gotten those myths out of the way, let’s get started!
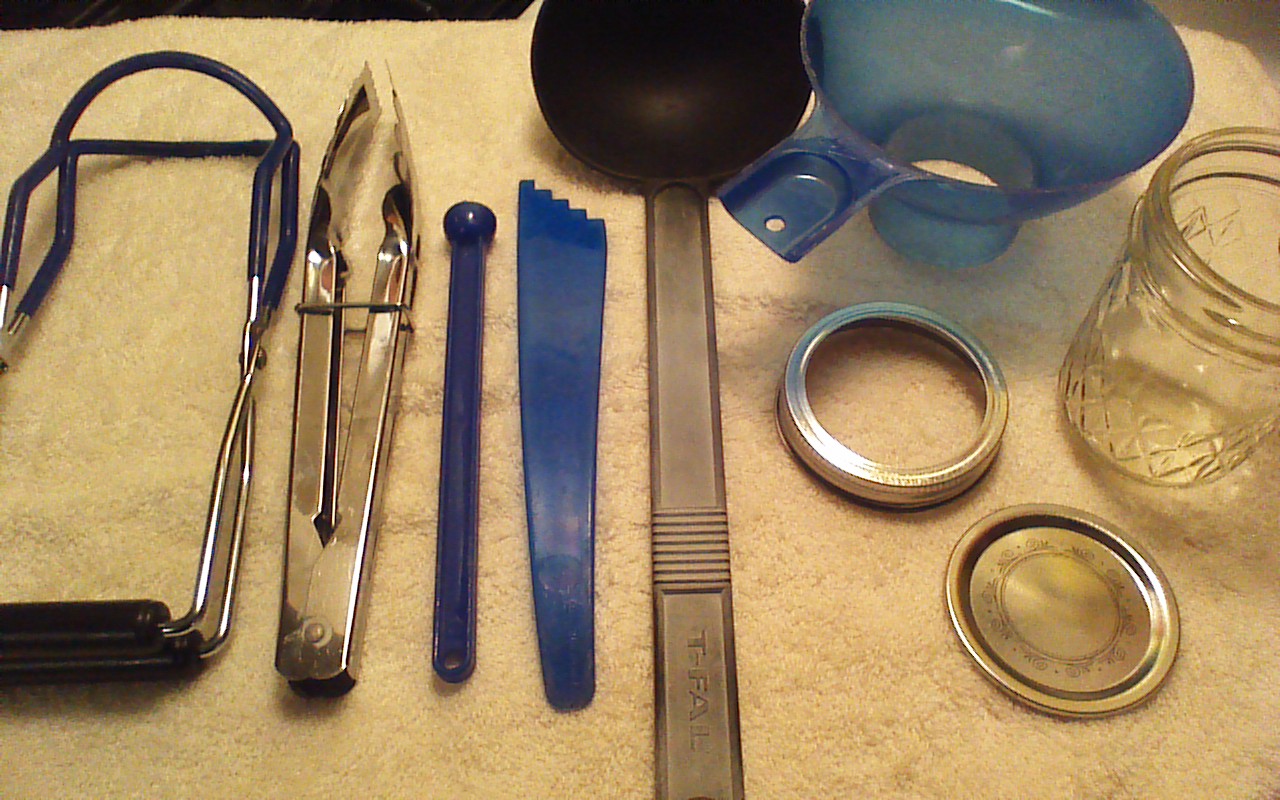 Step 1) Gather your supplies. From left to right, the supplies shown are a jar grabber, tongs, stick magnet, headspace measuring tool, ladle, wide mouth funnel, and three part jar (screw band, flat sealing lid, and the jar itself). Make sure all of these items, along with your countertop, are scrupulously clean.
~~
 Step 2) Fill your canning pot with water, at least one inch higher than the height of your canning jars.
~~~
~~~
~~~
 Step 3) Add your glass jars to the canning pot. I can fit a batch of nine or ten jars in my pot when needed. Bring the pot to a boil, and add the screw band and flat sealing lid. Boil hard (lid on) for at least five minutes to sterilize.
~~~
~~~
 Step 4) Using your jar grabber, remove a jar from the boiling water and empty it either back into the canning pot (be careful) or into your sink. If you are canning multiple jars, put half the water in the pot, and half the water in your sink. Set the jar on a protected surface. It will be HOT!
~~~
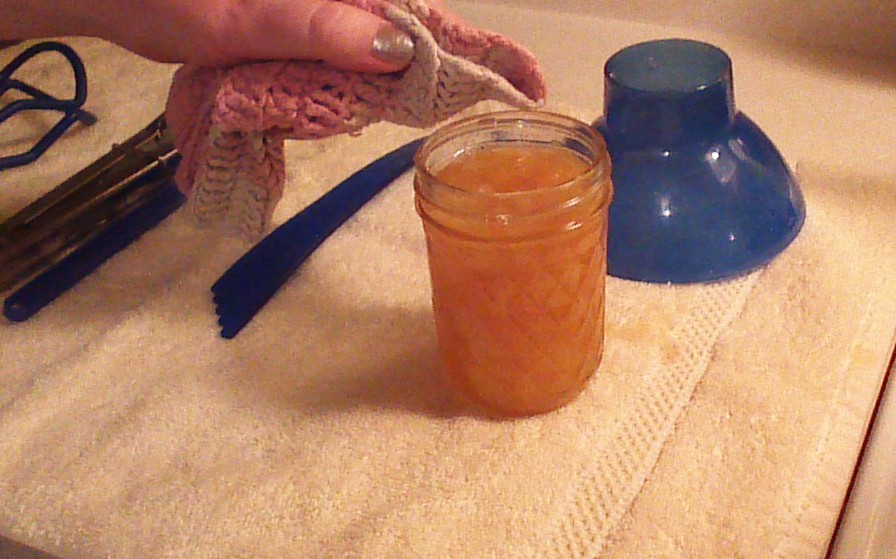
 Step 5) Place your clean, wide mouth funnel in the jar and ladle your recipe into the jar. Do not fill all the way to the top; your recipe should tell you how much empty space or “headspace” to leave. 1/2 inch is pretty standard, if your recipe doesn’t specify.
~~~
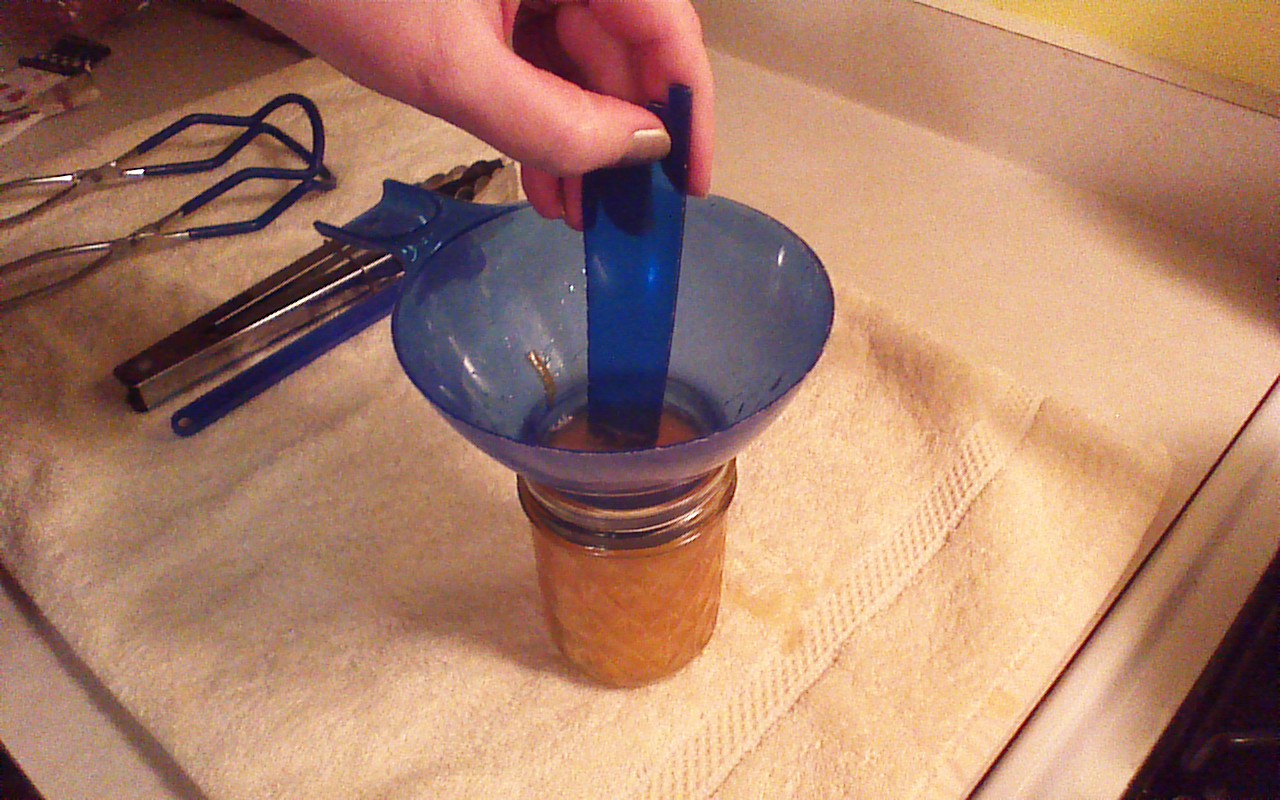 Step 6) Use the narrow end of your headspace measuring tool to poke around the sides of the jar. This looks a little silly, but is important because it helps to release air bubbles prior to sealing your jar.
~~~
~~~
 Step 7) Use the wider, notched end of your headspace measuring tool to confirm that you have left the appropriate amount of headspace. Each notch is 1/4 inch. A little too much headspace is OK. Too little headspace, however, is NOT OK. If you find that your jar is too full, use a clean tablespoon to remove the excess.
~~~
 Step 8) Wipe clean the rim of your jar with a clean, damp cloth. Your jar rims must be absolutely clean in order to seal properly. Take care with this step!
~~~
~~~
~~~
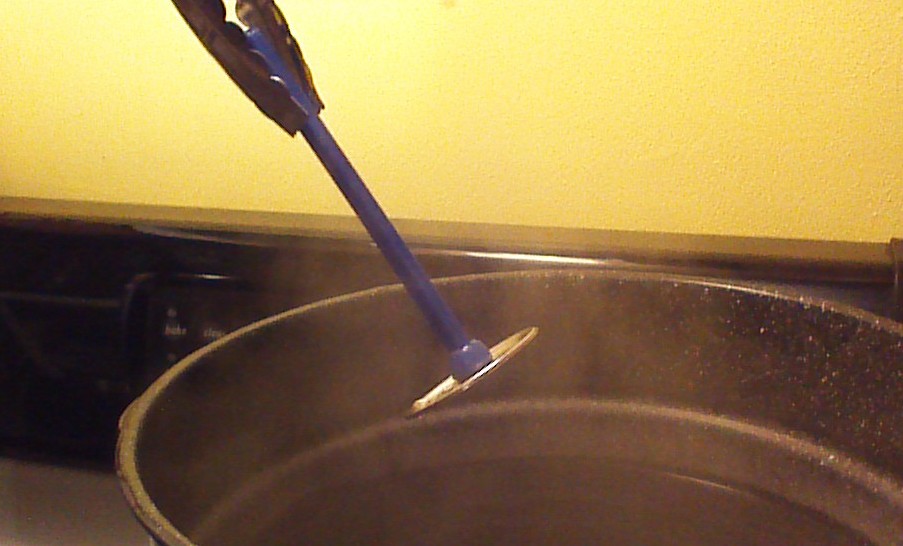 Step 9) Use your stick magnet to remove the flat sealing lid from the boiling water. Don’t burn yourself… use the tongs to hold the magnet stick if needed.
~~~
~~~
~~~
 Step 10) Carefully center the sealing lid on your jar.
~~~
~~~
~~~
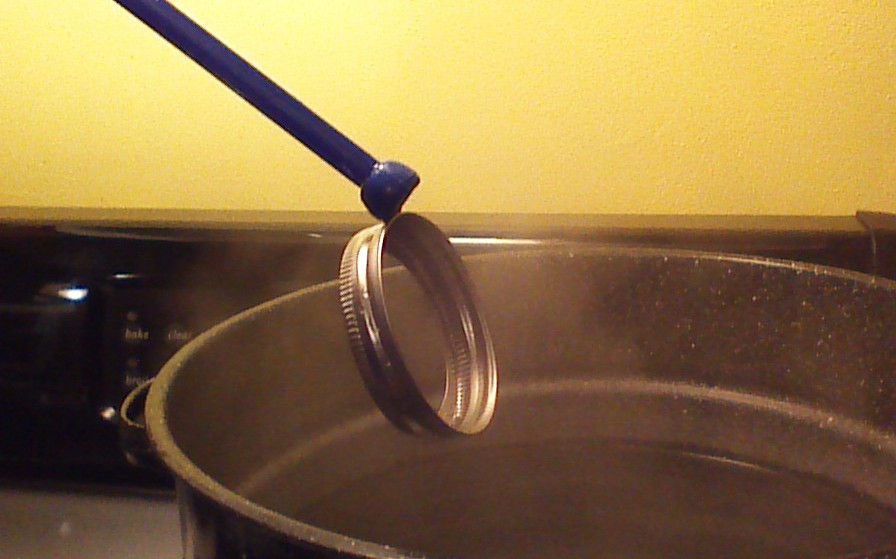 Step 11) Use your stick magnet to remove a screw band from the boiling water.
~~~
~~~
~~~
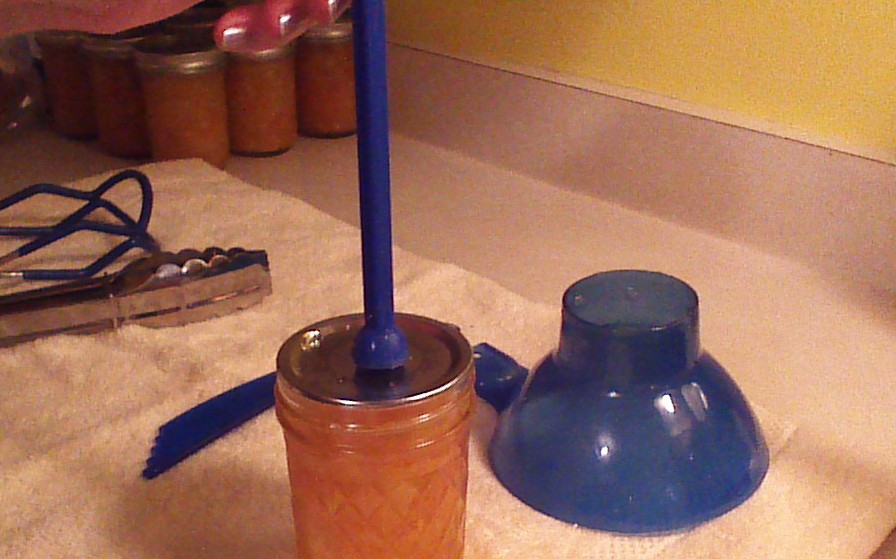
 Step 12) Carefully twist the screw band onto your jar, taking care to keep the flat sealing lid centered.
~~~
~~~
~~~
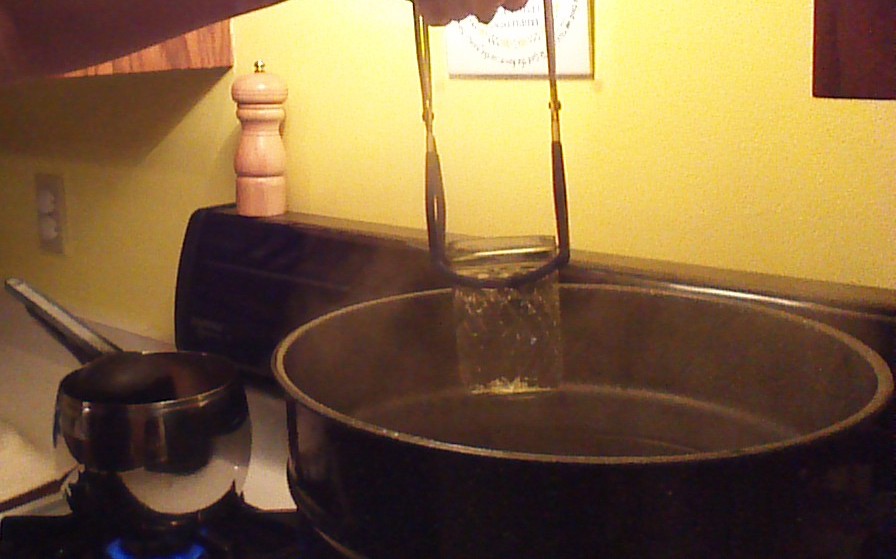
 Step 13) Use your jar grabber to lower your jar back into the boiling water. Set a timer and leave your jar in the boiling water (lid on) to process for the amount of time specified in your recipe.
~~~
~~~
~~~
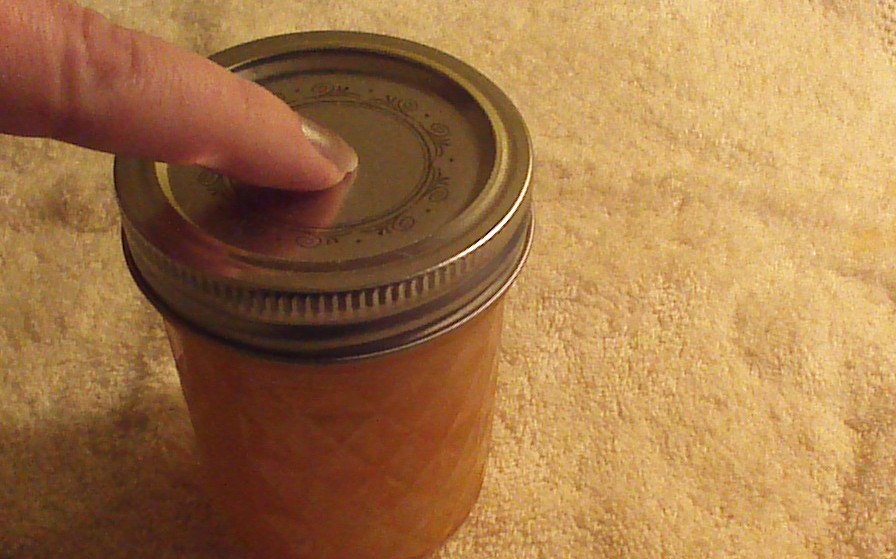 Step 14) Remove your jar(s) from the boiling water and set on a protected surface to cool for 24 hours. Do not disturb your jars for 24 hours. Before storing, check to see that your jars have all sealed. The middle of the flat sealing lid should be indented, and should not move or make any sound when you press down. If a jar has not sealed, store it in your refrigerator. Sealed jars may be stored in a cool, dry place for a long time – one year is pretty standard.
~~~
That’s all there is to it! I do want to leave you with a note of caution. While Crowded Earth Kitchen strives to be upbeat and fun, food safety is no laughing matter. Crowded Earth Kitchen does not recommend modifying recipes or following recipes that are not in agreement with the most recent guidelines put forth by the U.S. Department of Agriculture. For more information, please visit the website of the National Center for Home Food Preservation (http://nchfp.uga.edu/). Be Safe!

33 replies to “Canning”