
 Candy making doesn’t need to be complicated. Today’s recipe is super easy! You don’t need any special equipment – no candy thermometers, tempering surfaces, molds, tubes, brushes… none of that. If you have a pot and a mini muffin tin, you have all of the equipment you need to get started.
 If you want – but this is entirely optional – you could use an inexpensive plastic candy mold instead of (or in addition to) a mini muffin tin. The molds shown here were purchased for about $2 each at a local craft store. I purchased them simply to test them alongside a mini muffin tin, and I can confirm – the mini muffin tin works just as well. If anything, the muffin tin is a bit easier to work with, because the larger size is easier to coat evenly with chocolate.
I spent about an hour making the plate of Chocolate Orange Cremes shown above. They are delicious – it was time well spent!
 Ingredients (Makes about 30 candies)
1/2 pound of bulk chocolate coating (milk or dark, such as Ambrosia brand) -AND/OR- Wilton brand Candy Melts (any color)
3 ounces cream cheese, softened
1 tablespoon frozen orange juice concentrate
1 1/2 cups powdered sugar
 Directions
Step 1) Melt chocolate. You can microwave chocolate coating to melt, just make sure to stop the microwave every 30 seconds to stir. I melted my milk chocolate coating in a double boiler, and melted a small quantity of orange-colored Wilton Candy Melts (to drizzle over candies) in the microwave. It really doesn’t matter how you melt your chocolate, just stir frequently and don’t burn it.
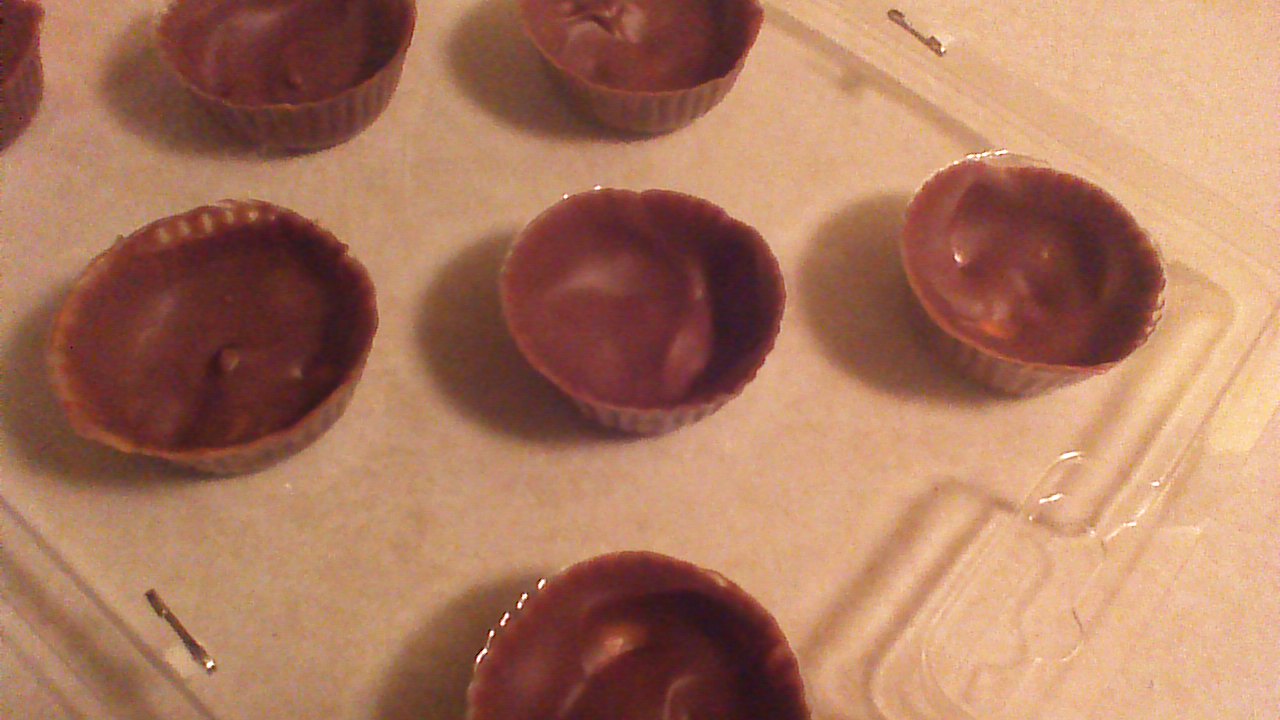 Step 2) Fill mini muffin tins or candy molds about 1/3 full with melted chocolate, and use a small spoon (a baby spoon works well) to push the chocolate up the sides of the tin/mold to coat the surfaces. Don’t worry, this is easy.
Step 3) Place coated tins/molds in the refrigerator for at least 10 minutes.
Step 4) While tins are cooling, beat together cream cheese and orange juice concentrate with an electric mixer. Add powdered sugar, 1/2 cup at a time, and beat until smooth.
 Step 5) Remove tins from the refrigerator. Use a small spoon to fill each chocolate lined tin about 3/4 full with orange creme filling. Important – do not spread the orange creme filling right up to the top of the mold, especially along the edges! Just fill the molds 3/4 full. Return the tin/mold to the refrigerator for another 5 – 10 minutes.
Step 6) Remove tins from the refrigerator and spoon melted chocolate evenly over the top of the filling. It’s important to form a “chocolate seal” between the top and the side edges.
Step 7) Return filled molds to the refrigerator until chocolate is firm and looks a bit cloudy. To remove cooled Chocolate Orange Cremes from their molds/tins, simply turn the molds upside down and wiggle the candies a bit. They’ll pop right out!
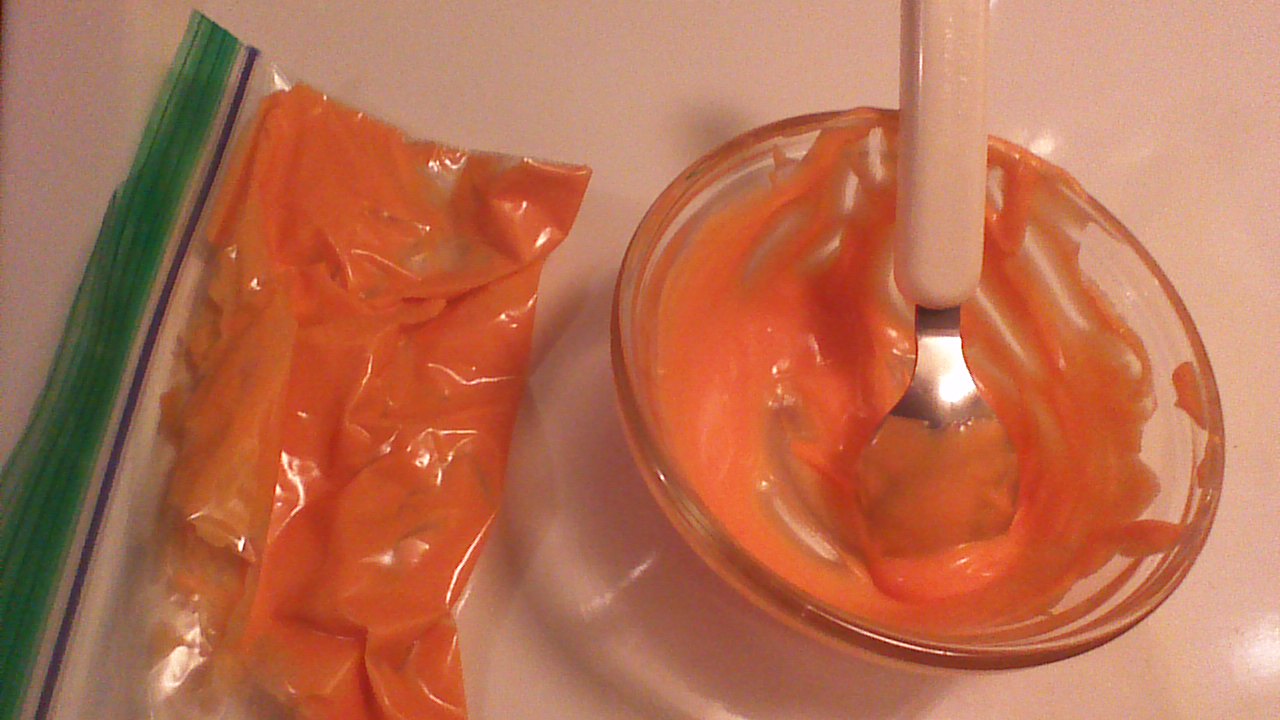 Step 8) If desired, melt a small quantity (about 1/4 cup) of candy melts in an accent color (I used orange). Pour melted chocolate into a small zip-lock bag and cut a very small corner off of the bag. Use this homemade pastry bag to decorate your Chocolate Orange Cremes!
Enjoy!
